

Branded merchandise, such as T-shirts, mugs, and tote bags, is a powerful way to promote a brand and create a memorable customer experience. Adobe Illustrator provides the tools needed to create scalable and professional designs for merchandise. This guide will walk you through the process of designing branded merchandise step-by-step.
1. Understand the Merchandise Requirements
Identify the type of merchandise and its design specifications.
Considerations:
- Dimensions and printable areas for each item
- Materials (fabric, ceramic, etc.)
- Color limitations (single color vs. full color)
2. Set Up the Canvas
Prepare your workspace for the specific merchandise dimensions.
Settings:
- Size: Based on the item’s print area (e.g., 12×16 inches for T-shirts)
- Color Mode: CMYK for print, RGB for digital previews
- Include guidelines for safe zones and bleed areas
3. Incorporate Brand Elements
Ensure that the design aligns with the brand’s identity.
What to Include:
- Brand logo
- Official colors and typography
- Supporting icons, patterns, or taglines
4. Design for the Item’s Shape and Use
Adapt the design to fit the merchandise’s form and purpose.
Tips:
- Use simple designs for small items (e.g., mugs, pens).
- Create bold and eye-catching graphics for larger items (e.g., T-shirts, bags).
- Ensure readability and visibility from a distance.
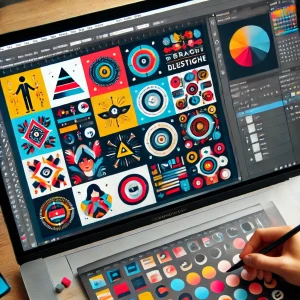
5. Experiment with Patterns and Layouts
Add creativity to your design with patterns and unique layouts.
Ideas:
- Create seamless patterns for all-over prints.
- Combine logos and illustrations for dynamic compositions.
- Use the Clipping Mask Tool to apply designs to mockups.
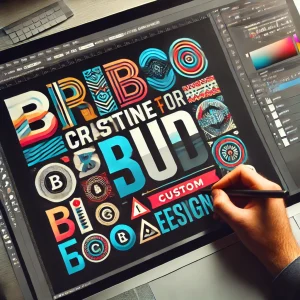
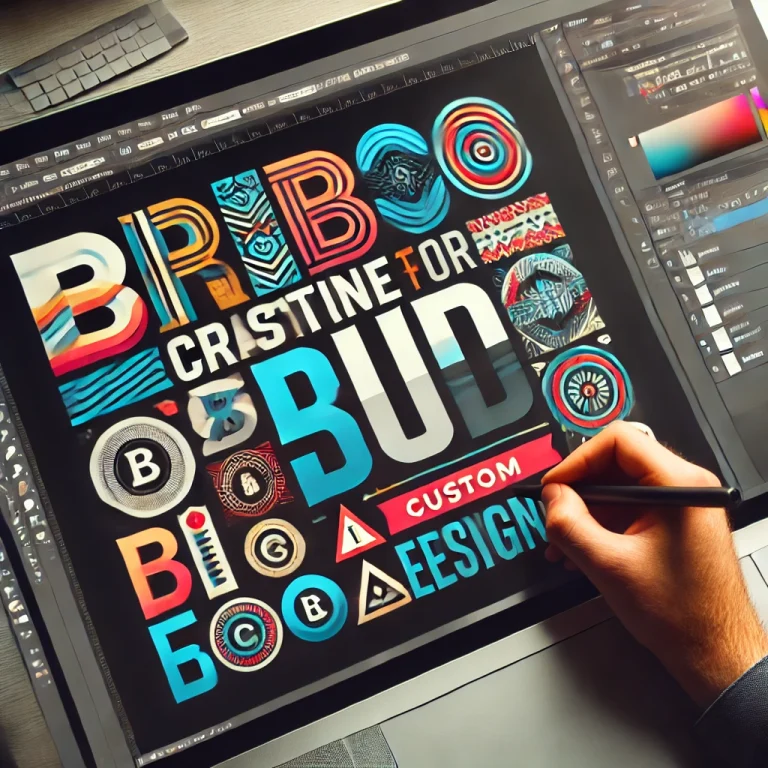
6. Add Engaging Typography
Incorporate brand messaging with bold and clear text.
How to Apply:
- Use the Type Tool (T) to add slogans or taglines.
- Choose readable fonts that match the brand’s tone.
- Apply Warp Effects for curved or stylized text.
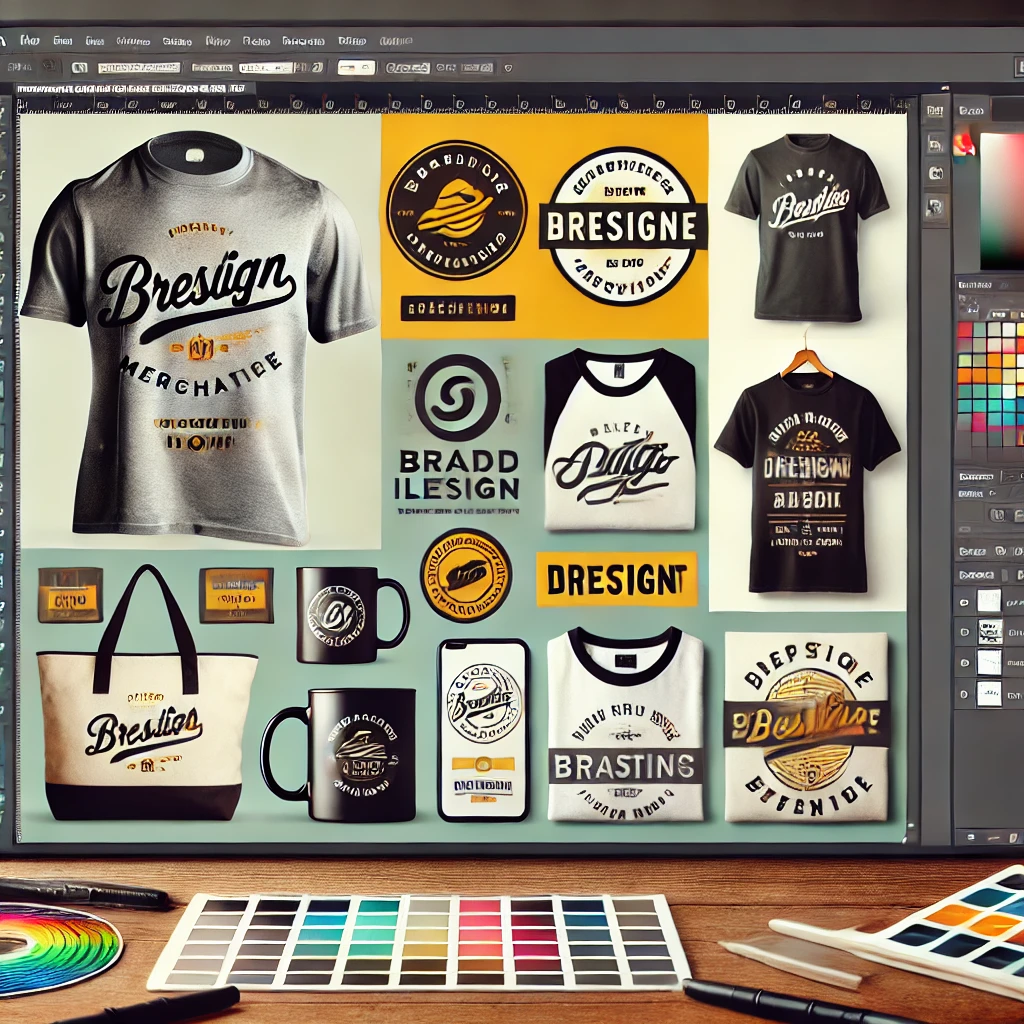
7. Use Mockups for Visualization
Preview how the design will look on the actual merchandise.
How to Apply:
- Import product mockups or use Illustrator’s artboards for placement.
- Apply the design to the mockup using the Transform Tool.
- Adjust colors and alignment for realism.
8. Optimize for Printing
Ensure that the design is print-ready.
Checklist:
- Convert all text to outlines (Ctrl+Shift+O).
- Expand appearance for any effects or gradients.
- Verify color accuracy in CMYK mode.
9. Export the Design
Save the files in formats required by the manufacturer.
Export Options:
- AI or EPS for vector files
- PDF with crop marks and bleed for print
- PNG for digital previews
10. Test and Iterate
Refine the design based on feedback and prototypes.
Tips:
- Request a digital or physical proof before final production.
- Adjust sizing or colors based on the prototype.
- Ensure the design scales well for different merchandise sizes.
Conclusion
Designing branded merchandise in Adobe Illustrator allows you to create versatile and impactful products that resonate with your audience. By combining creativity with brand consistency, you can produce merchandise that strengthens brand loyalty and leaves a lasting impression.


+ There are no comments
Add yours