


Custom typography is a unique way to make a brand stand out and convey its personality. Adobe Illustrator provides the tools needed to design personalized, scalable, and versatile fonts or wordmarks. This guide will walk you through creating custom typography for branding.
1. Understand the Brand’s Personality
Define the tone and style of the typography based on the brand.
Questions to Ask:
- Is the brand formal, playful, or modern?
- Should the typography be bold, elegant, or minimal?
- How will the typography be used (logo, packaging, website)?
2. Set Up the Canvas
Prepare your workspace for typography design.
Settings:
- Size: 1920×1080 px
- Color Mode: RGB for digital, CMYK for print
- Use grids or guides to align letterforms.
3. Start with a Base Font or Freehand Sketch
Choose whether to modify an existing font or create a custom one.
Tips:
- Use a bold font as a base for customization.
- Sketch letterforms on paper and import the design.
- Use the Pen Tool (P) to trace custom shapes.
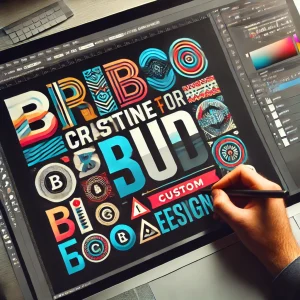
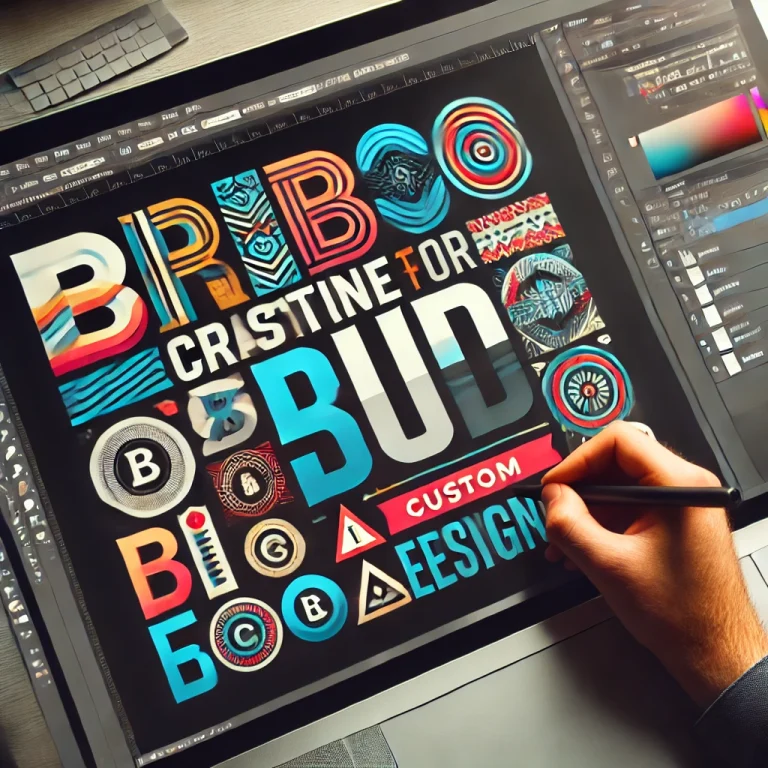
4. Create Custom Letterforms
Modify existing fonts or draw new ones from scratch.
How to Apply:
- Convert text to outlines (Ctrl+Shift+O) for editing.
- Use the Direct Selection Tool (A) to adjust anchor points.
- Combine shapes with the Pathfinder Tool for unique forms.
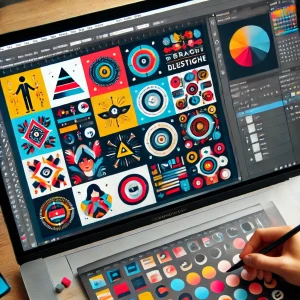
5. Experiment with Decorative Elements
Add creative touches to enhance the typography.
Ideas:
- Integrate brand symbols or icons into letters.
- Add geometric patterns or textures.
- Apply stroke or shadow effects for depth.
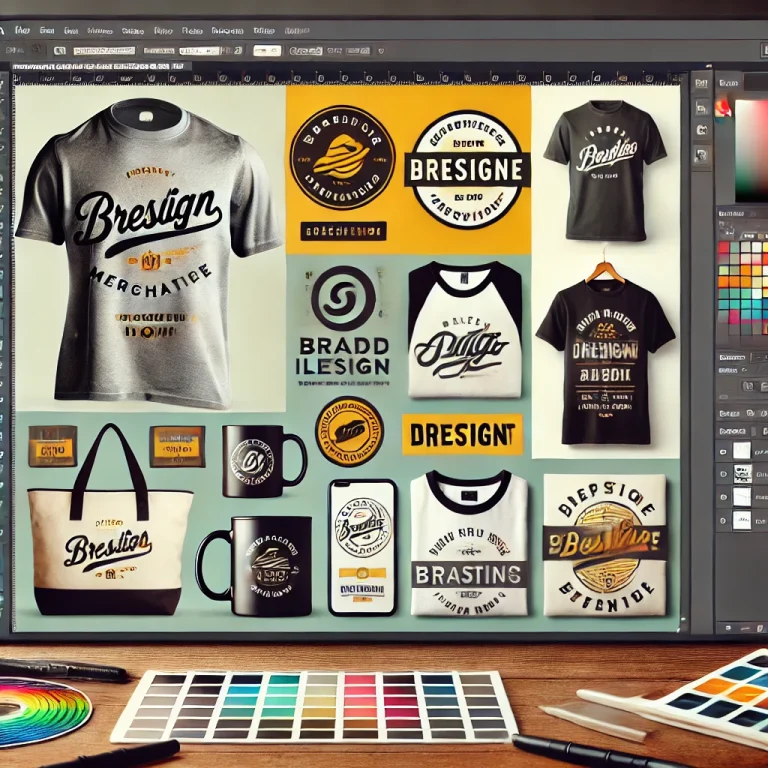
6. Test Typography in Branding Contexts
Ensure the custom typography works across all branding materials.
How to Test:
- Place it on mockups (business cards, websites, packaging).
- Check readability at different sizes.
- Test visibility on light and dark backgrounds.
7. Apply Colors and Gradients
Use the brand’s color palette to style the typography.
Tips:
- Stick to primary and secondary brand colors.
- Use gradients for modern and dynamic effects.
- Test different color variations for flexibility.
8. Create Variations
Design multiple versions of the custom typography for versatility.
Ideas:
- Full wordmarks for large formats
- Simplified icons for small spaces
- Monochrome and color variations
9. Refine and Finalize the Design
Polish the typography for a professional finish.
Checklist:
- Ensure all anchor points are smooth.
- Align letters evenly with consistent spacing.
- Simplify paths for clean results.
10. Export the Custom Typography
Prepare the typography for branding applications.
Export Options:
- AI or EPS for vector files
- SVG for web use
- PNG for digital previews
- PDF for print projects
Conclusion
Creating custom typography in Adobe Illustrator allows brands to communicate their unique personality and values through design. By carefully crafting letterforms and integrating branding elements, you can create memorable typography that reinforces the brand’s identity.


+ There are no comments
Add yours