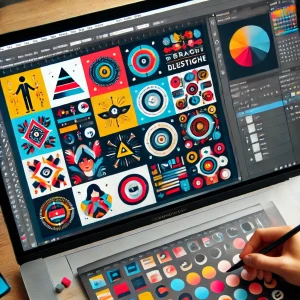
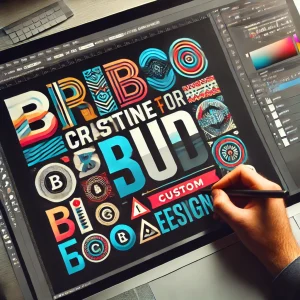


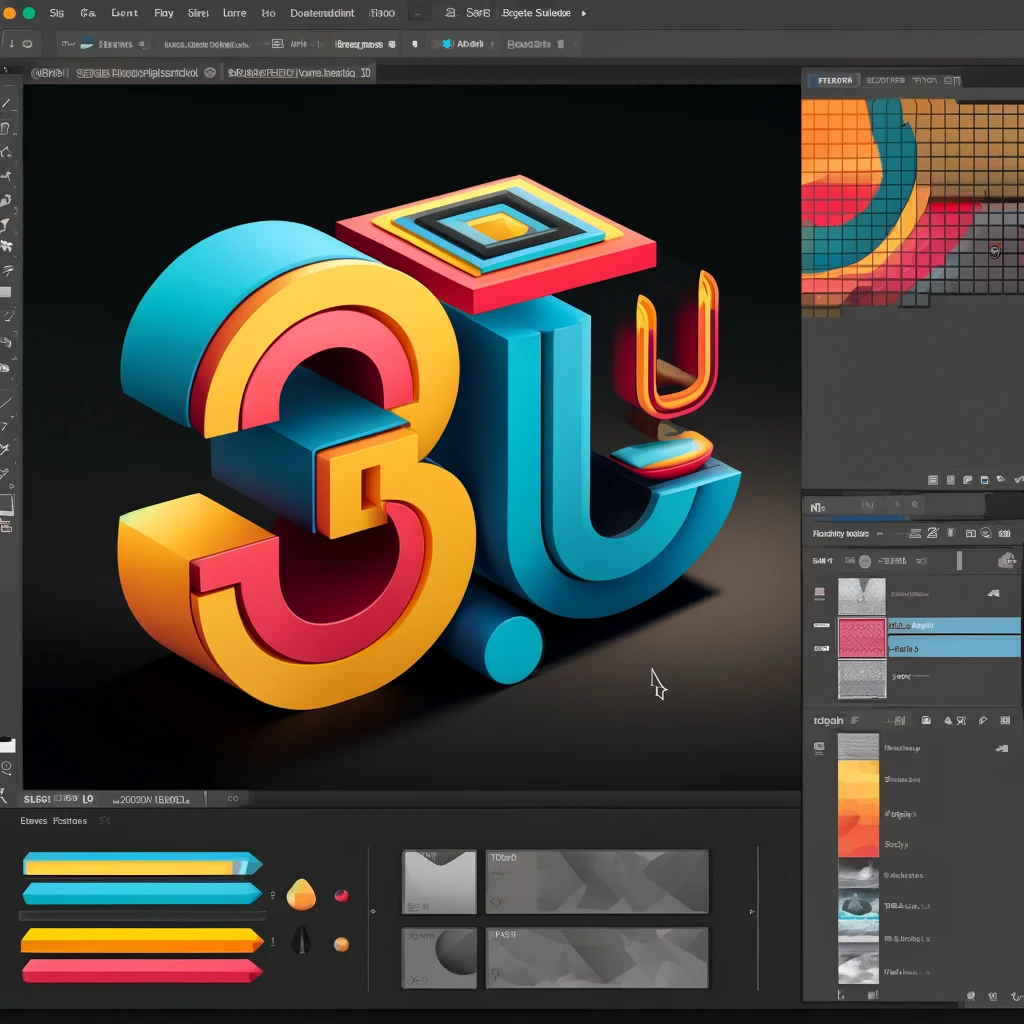
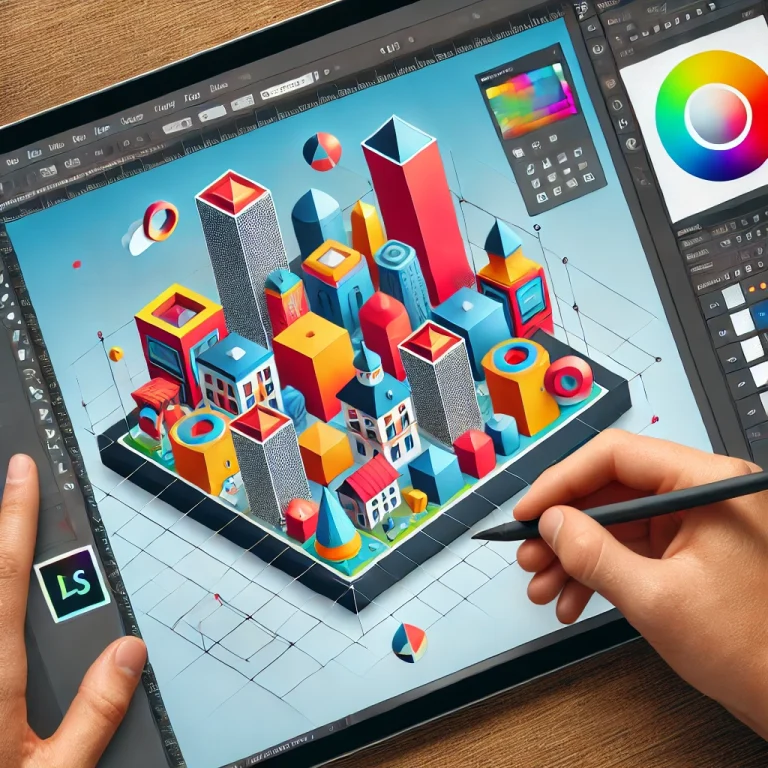
3D illustrations add depth and dimension to flat designs, making them more dynamic and engaging. Adobe Illustrator’s 3D tools allow designers to create realistic 3D objects and text with ease. This guide will walk you through the process of creating 3D illustrations step-by-step.
1. Choose the Object or Text for 3D Conversion
Start by deciding whether to create a 3D object, text, or icon.
Ideas:
- 3D text for logos and headlines
- Geometric 3D shapes for icons
- Product mockups for presentations
2. Set Up the Canvas
Create a workspace optimized for 3D design.
Settings:
- Size: 1920×1080 px
- Color Mode: RGB for digital use
- Enable Smart Guides (Ctrl+U) for alignment
3. Create the Base Shape or Text
Design the base object to be transformed into 3D.
Tools:
- Type Tool (T) for text
- Shape Tools for geometric objects
- Pen Tool (P) for custom shapes
4. Apply the 3D Effect
Convert the 2D object into a 3D design.
How to Apply:
- Select the object.
- Go to Effect > 3D and Materials > Extrude & Bevel.
- Adjust Depth, Rotation, and Bevel settings for the desired look.
5. Customize Lighting and Materials
Enhance the 3D effect with lighting and textures.
Tips:
- Adjust Light Intensity and Angle for shadows.
- Apply Materials for metallic or plastic surfaces.
- Use the Diffuse Shading option for softer lighting.
6. Add Gradient and Shadows
Increase realism with gradients and shadows.
How to Apply:
- Use Gradient Fills for depth.
- Add Drop Shadows for a grounded effect.
- Combine Opacity Masks for subtle shading.
7. Refine Edges and Details
Smooth out edges and add intricate details.
Techniques:
- Expand the 3D object (Object > Expand Appearance) to edit anchor points.
- Refine with the Direct Selection Tool (A).
- Use the Pen Tool (P) for custom highlights.
8. Apply Color and Texture
Make the 3D illustration more vibrant.
Tips:
- Use bold, contrasting colors for visual impact.
- Apply textures with Clipping Masks.
- Use gradients to add depth.
9. Final Adjustments
Polish the design for a professional finish.
Checklist:
- Ensure proper alignment and proportions.
- Adjust lighting and shading.
- Simplify paths for cleaner results.
10. Export the 3D Illustration
Save the design for digital or print use.
Export Options:
- PNG or JPEG for digital sharing
- SVG for scalable designs
- PDF for print-ready files
Conclusion
Creating 3D illustrations in Adobe Illustrator adds depth and visual interest to your designs. By using 3D tools, lighting effects, and creative textures, you can produce professional, dynamic artwork that stands out.


+ There are no comments
Add yours