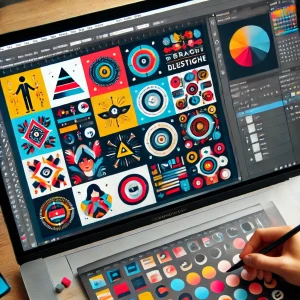


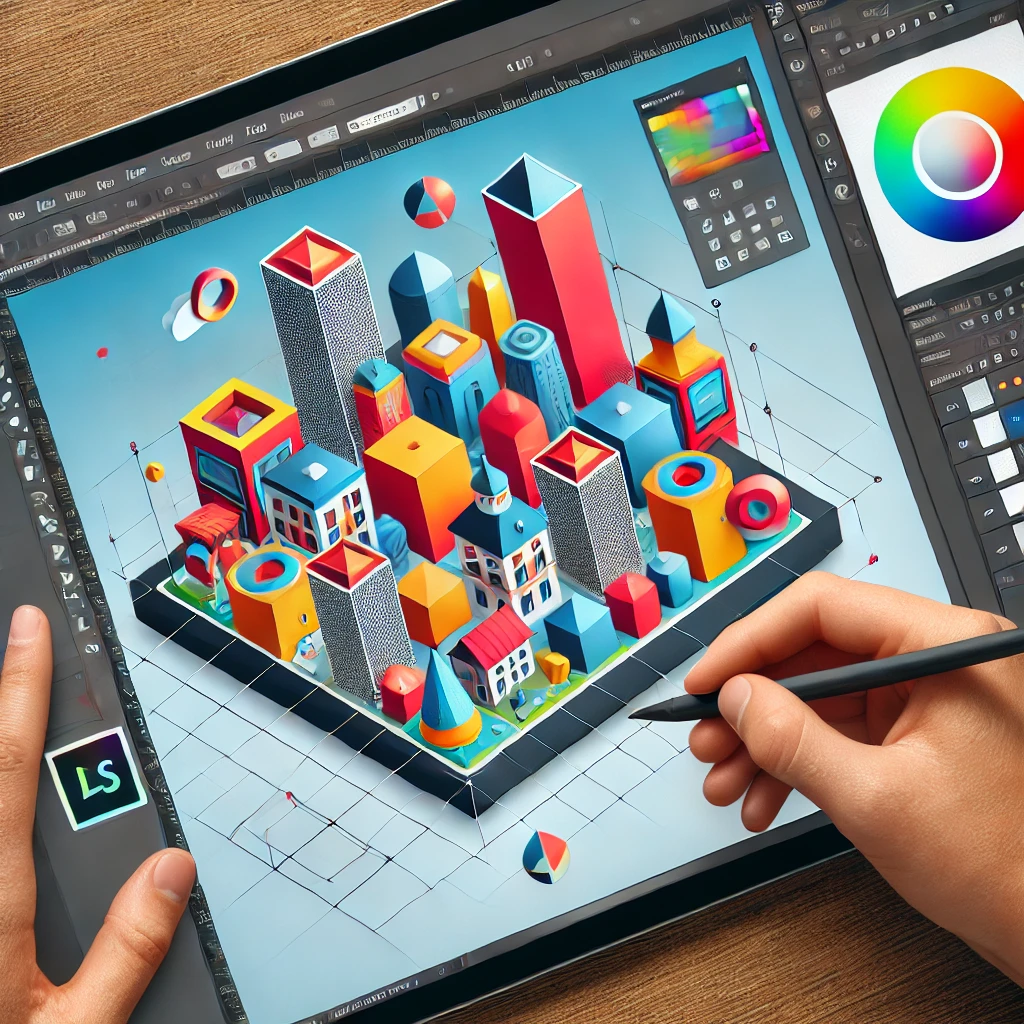
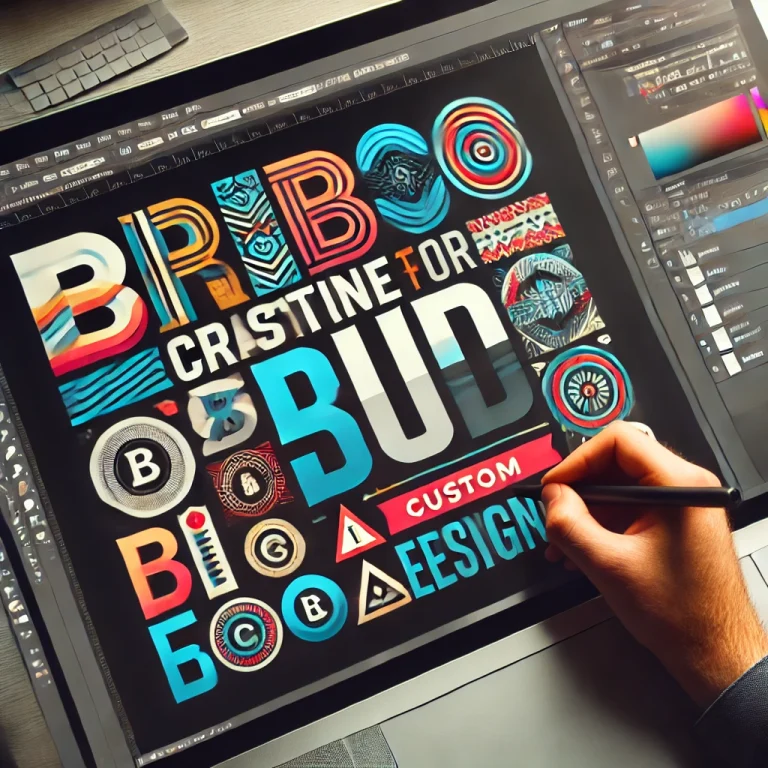
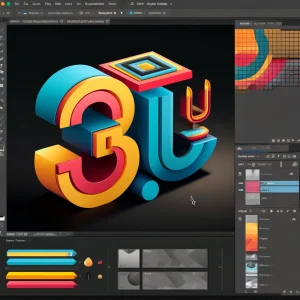
Isometric design is a popular style that creates 3D-like visuals on a 2D plane using geometric shapes and precise angles. This style is widely used in game design, infographics, and web illustrations. Adobe Illustrator’s tools make it easy to build clean and professional isometric designs. This guide will walk you through the process.
1. Understand Isometric Principles
Isometric designs use a 30-degree angle to create a 3D effect without distortion.
Key Features:
- Equal dimensions along all axes
- No perspective distortion
- Consistent 120° angles between axes
2. Set Up the Isometric Grid
Create a precise grid for alignment.
How to Apply:
- Go to View > Grid > Show Grid.
- Enable Snap to Grid for precision.
- Use the Line Tool (\) at 30° angles to create guidelines.
3. Draw Basic Shapes
Start building your isometric design with simple shapes.
Tools:
- Rectangle Tool (M) and Polygon Tool for structure
- Pen Tool (P) for custom angles
- Shear Tool to skew objects to a 30° angle
4. Apply Isometric Transformations
Transform shapes into the isometric perspective.
How to Apply:
- Select the shape.
- Go to Effect > 3D and Materials > Rotate.
- Set X-axis to -30°, Y-axis to -30°, and Z-axis to 0°.
5. Build Complex Structures
Combine basic shapes to form detailed isometric objects.
Ideas:
- Buildings and cityscapes
- Objects like desks, furniture, or technology
- Abstract geometric art
6. Use the Pathfinder Tool
Simplify complex designs by merging and dividing shapes.
How to Apply:
- Use Unite to merge parts.
- Apply Minus Front to cut shapes.
- Use Divide to separate sections.
7. Add Color and Shading
Enhance depth with color and shading.
Tips:
- Use varying shades of a color for light and shadow.
- Apply Gradient Fills sparingly for depth.
- Use Opacity Masks for subtle shading.
8. Add Details and Textures
Incorporate small elements to enrich the design.
Ideas:
- Windows, doors, and rooftops for buildings
- Screens and buttons for tech objects
- Patterns and textures for realism
9. Final Adjustments
Refine the design for a polished look.
Checklist:
- Align all objects perfectly on the isometric grid.
- Balance colors and contrast.
- Simplify shapes for clarity.
10. Export the Isometric Design
Save your design for different uses.
Export Options:
- AI and EPS for editable files
- PNG for web graphics
- PDF for print
Conclusion
Isometric design in Adobe Illustrator combines precision with creativity. By mastering grids, transformations, and shading, you can create dynamic and detailed isometric illustrations for a wide range of applications.

+ There are no comments
Add yours