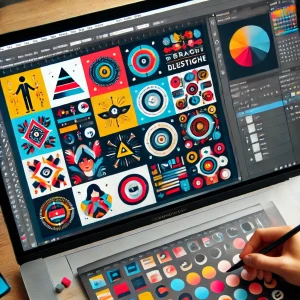


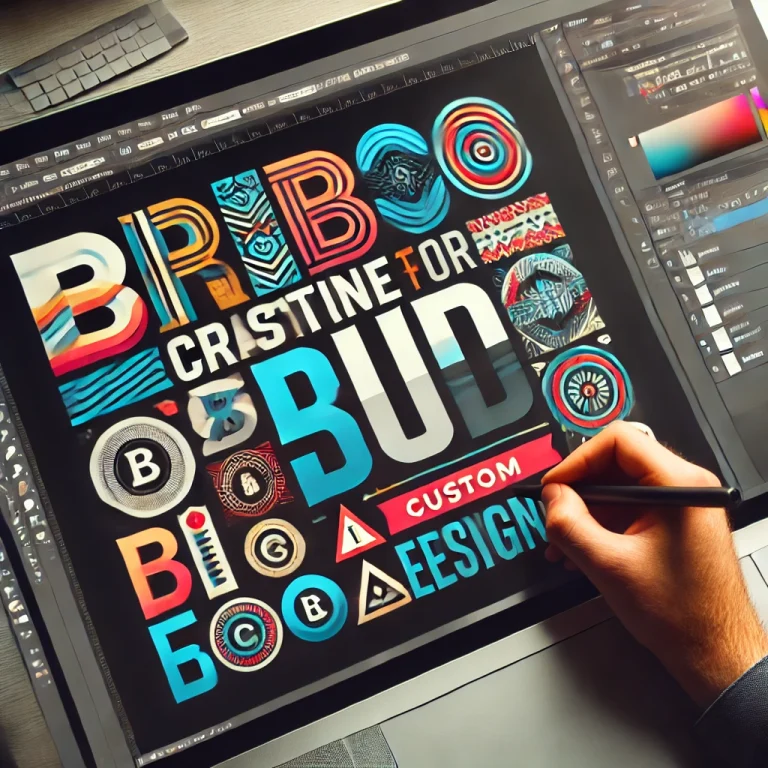
Custom typography is a powerful tool for creating unique and memorable designs. Whether for branding, posters, or digital graphics, Adobe Illustrator provides versatile tools to craft personalized letterforms. This guide will walk you through designing custom typography step-by-step.
1. Choose a Base Font for Customization
Start by selecting a font that reflects your design’s style.
Tips:
- Use bold or display fonts for more impact.
- Avoid overly complex fonts to allow more room for customization.
- Convert the font to outlines (Type > Create Outlines) to edit the shapes.
2. Set Up the Canvas
Prepare a workspace that supports typography design.
Settings:
- Size: 2000×2000 px
- Color Mode: RGB for digital, CMYK for print
- Enable Smart Guides (Ctrl+U) for precise alignment.
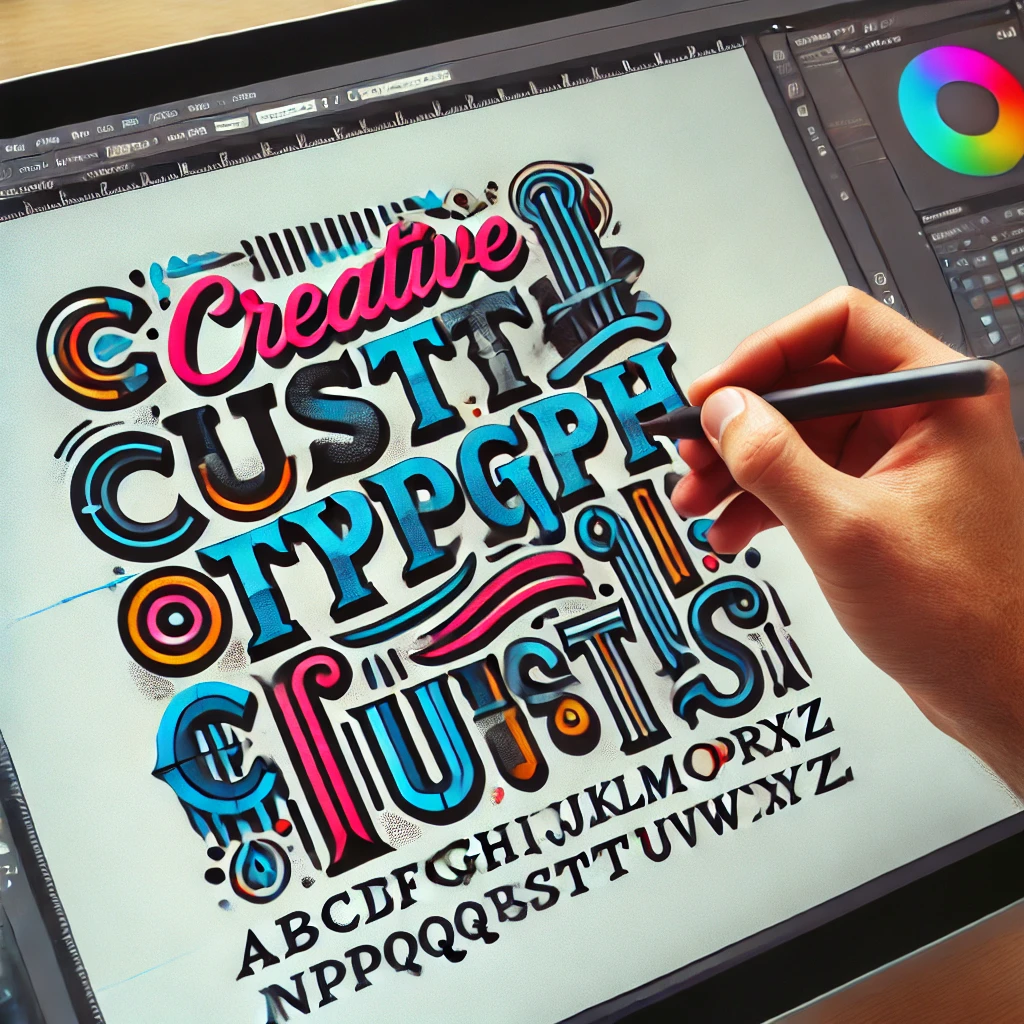
3. Modify Letterforms
Customize the font by editing its shapes.
How to Apply:
- Use the Direct Selection Tool (A) to adjust anchor points.
- Apply the Pen Tool (P) for additional shapes or adjustments.
- Use the Knife Tool to slice and reshape parts of letters.
4. Combine Text with Shapes
Blend typography with geometric or organic shapes.
Ideas:
- Integrate graphics into the text for unique forms.
- Use the Pathfinder tool to merge or subtract elements.
- Add illustrative details to letters for a hand-crafted look.
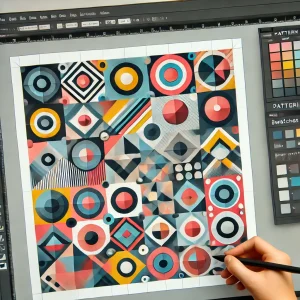
5. Add Textures and Effects
Enhance the typography with textures and visual effects.
Techniques:
- Apply Clipping Masks to insert textures inside text.
- Use Gradient Tool (G) for color transitions.
- Add shadows and highlights for depth.
6. Experiment with Letter Spacing and Alignment
Adjust spacing for a balanced design.
Tools:
- Modify Kerning and Tracking for custom spacing.
- Align text vertically or horizontally using the Align Panel.
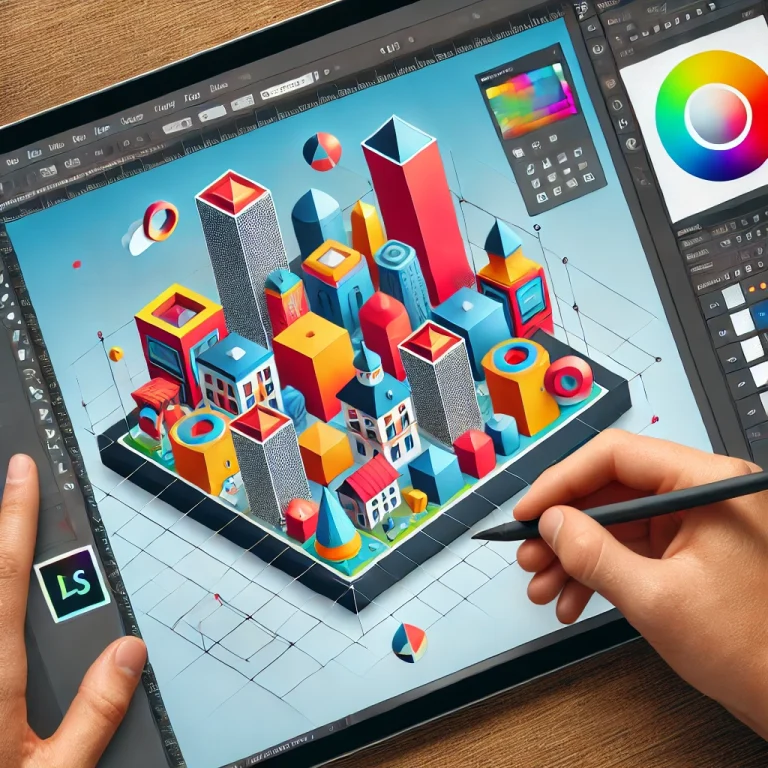
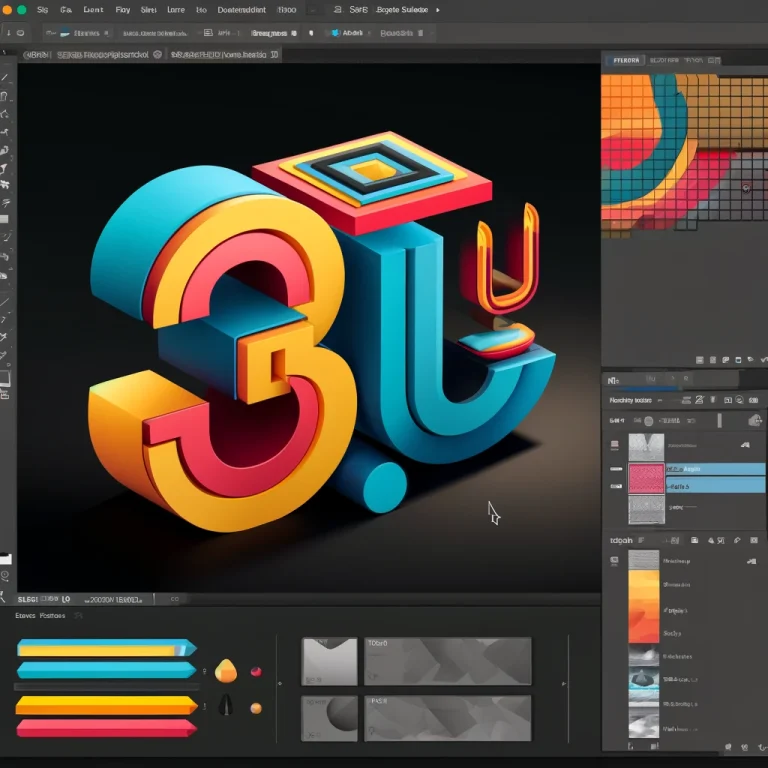
7. Create Dimensional Effects
Make typography stand out with depth.
How to Apply:
- Use Offset Path for layering effects.
- Apply the 3D Extrude & Bevel effect for depth.
- Add shadows using Drop Shadow in Layer Styles.
8. Play with Color and Gradients
Choose a color scheme that fits your design.
Tips:
- Use bold and contrasting colors for visibility.
- Combine flat colors with gradients for a modern look.
- Test color variations to see what works best.
9. Polish and Refine the Typography
Ensure all elements are aligned and cohesive.
Checklist:
- Review letter spacing and alignment.
- Adjust anchor points for smooth curves.
- Simplify complex paths for cleaner results.
10. Export Your Custom Typography
Save your design for different uses.
Export Options:
- AI and EPS for editable vector files.
- PNG with transparency for web use.
- PDF for print-quality output.
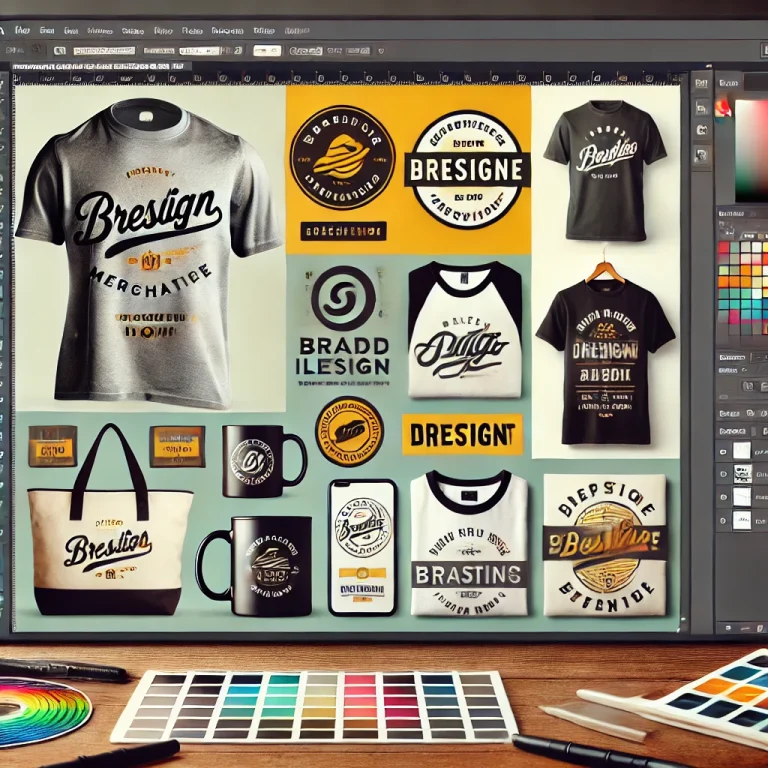
Conclusion
Designing custom typography in Adobe Illustrator allows for endless creativity and personalization. By modifying letterforms, blending shapes, and adding visual effects, you can craft one-of-a-kind typography that makes a lasting impression.


+ There are no comments
Add yours